React + Django for Prototyping Modern Web Application


One of the key benefits of using React and Django together for prototyping web applications is that they provide a powerful and flexible development stack. React is a JavaScript library for building user interfaces, and it allows developers to create highly interactive and responsive web applications. Django is a Python web framework that provides a range of tools and features for building web applications, including an ORM, templating engine, and built-in authentication system. By combining these two technologies, developers can quickly and easily prototype web applications that have rich and engaging user experiences.
I worked as a Software Engineer Intern at Finception. Finception is a Bengaluru based FinTech startup. They’re working on their upcoming personalized financial planner called Plumo. You may know about them from their popular financial newsletter called Finshots.
Why use React?
React allows developers to create large web applications that can change data, without reloading the page. The main purpose of React is to be fast, scalable, and simple. It works only on user interfaces in the application. This corresponds to the view in the MVC template. It can be used with a combination of other JavaScript libraries or frameworks, such as Angular JS in MVC.
I downloaded the data from here.
First, we need to write a little script in Python, to scrape all the nested links inside this page, go to each individual page, extract all the text from the HTML page, and then save the text as a .txt file inside the directory.
Why use Django?
Django is an open-source framework for backend web applications based on Python — one of the top web development languages. Its main goals are simplicity, flexibility, reliability, and scalability.
Using React, React Native, and Django in your tech stack for your MVP product will significantly reduce the development time. Django is based on Python. Python is easy to pick programming language. You can get started with Django using Python and create RESTful API in no time.
React is also relatively easier to pick. One of the strongest advantages of using React is that the same code can be used in your mobile app using React Native. Most of the code between React and React-native can be easily shared. React Native also follow write once and run anywhere paradigm. That means the same code can be compiled for Android and iOS platforms. Thus, you can share the same code between web, mobile, and iOS resulting in reduced development cost as well as development time.
Enough Talk. Show me the code!
In this article, we will develop most basic Todo CRUD application.
Setting up the Django environment
Make sure you have Django installed — with pip
$ cd Project
$ mkdir todo
$ cd todo
$ cd ..
$ cd mkdir backend
$ cd backend
$ sudo -H pip install -U pipenv //installing pipenv to avoid "pipenv: command not found"
$ pipenv install django
$ pipenv shell
$ cd todo_api/

$ django-admin startproject todo_api$ python manage.py startapp todos
$ python manage.py migrate
Then, at todos app at the INSTALLED_APPS settings in our settings.py file.
# todo_api/settings.py
INSTALLED_APPS = [
    'django.contrib.admin',
    'django.contrib.auth',
    'django.contrib.contenttypes',
    'django.contrib.sessions',
    'django.contrib.messages',
    'django.contrib.staticfiles',

    'todos', # new line
]
Run it with
python manage.py migrate runserver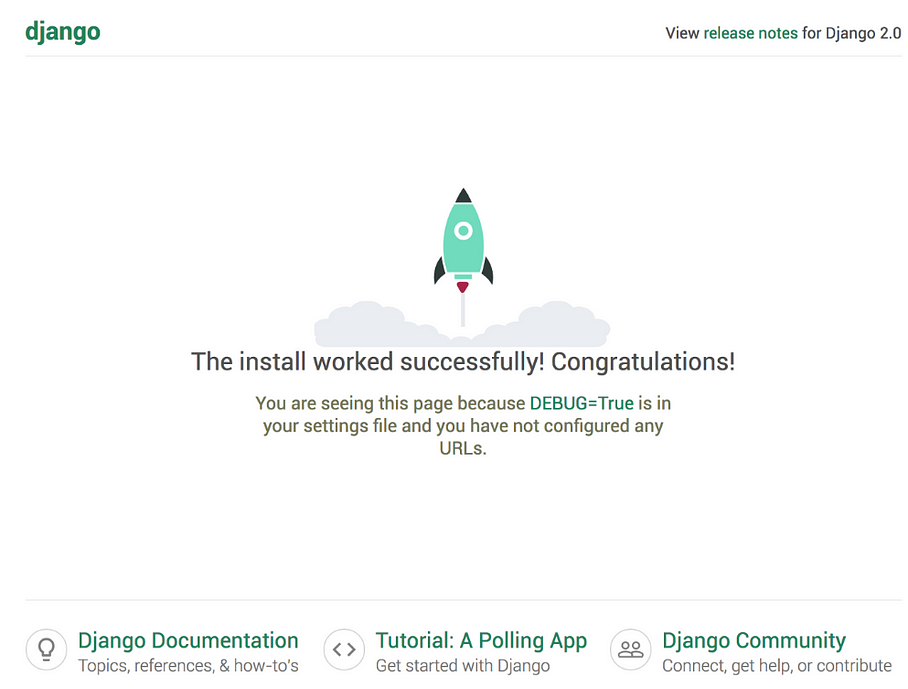
Creating Models
After that, we create todo list database model as we wish (at this example, I would just use two fields/based on the tutorial I referred):
from django.db import models


class Todo(models.Model):
    title = models.CharField(max_length=200)
    description = models.TextField()

    def __str__(self):
        """A string representation of the model."""
        return self.title
As we have updated our backend model, it’s time for the Django two-step dance of making new migrations file, then execute migrating it. Follow the step below.
python manage.py makemigrations todos
python manage.py migrate todos
We should now add Todo model to the admin site. Then, lets access the Django admin to play around with the data.
# todos/admin.py
from django.contrib import admin

from .models import Todo

admin.site.register(Todo)
The next would be, adding superuser:
$ python manage.py createsuperuserYou will be asking username + password + email regarding to createsuper for admin. Make sure you remember that, as you might need to re-create super user if issue arises.
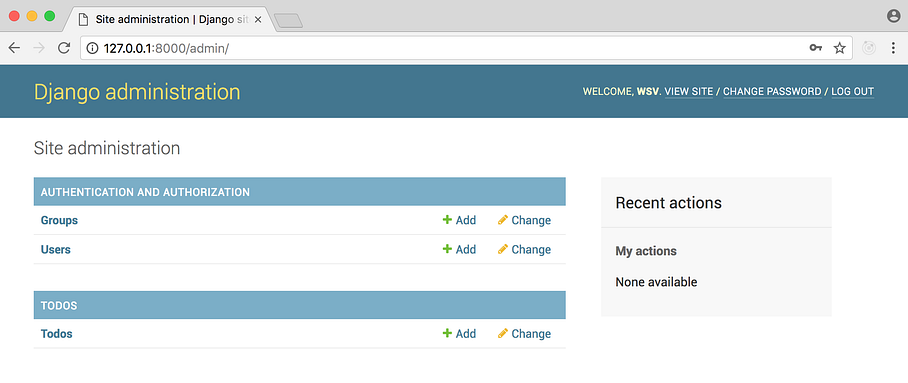
Now, we run the server again
$ python manage.py runserverOpen on your browser the localhost page with the route of /admin:
http://127.0.0.1:8000/admin/
Then, use your username + password
Tests.py
Now lets create some test before we touch the frontend side. This is the simple testing procedure from the tutorial I referred:
# todos/tests.py
from django.test import TestCase
from .models import Todo


class TodoModelTest(TestCase):

    @classmethod
    def setUpTestData(cls):
        Todo.objects.create(title='first todo')
        Todo.objects.create(description='a description here')

    def test_title_content(self):
        todo = Todo.objects.get(id=1)
        expected_object_name = f'{todo.title}'
        self.assertEquals(expected_object_name, 'first todo')

    def test_description_content(self):
        todo = Todo.objects.get(id=2)
        expected_object_name = f'{todo.description}'
        self.assertEquals(expected_object_name, 'a description here')
Stop the server, and re run
$ python manage.py testDjango REST Framework
First step would be to install Django REST Framework with pipenv
$ pipenv install djangorestframeworkUpdate settings.py
# todo_api/settings.py
INSTALLED_APPS = [
    'django.contrib.admin',
    'django.contrib.auth',
    'django.contrib.contenttypes',
    'django.contrib.sessions',
    'django.contrib.messages',
    'django.contrib.staticfiles',

    'rest_framework', // new

    'todos',
]# new
REST_FRAMEWORK = {
    'DEFAULT_PERMISSION_CLASSES': [
        'rest_framework.permissions.AllowAny',
    ]
}
Lets make /api as our endpoint (routing address) with the extension of <id> as a primary key. Basically the object would be at api/<id>.
We started by update urls.py at project level, refer it at todos app at the subdomain api/.
# todo_api/urls.py
from django.contrib import admin
from django.urls import include, path


urlpatterns = [
    path('admin/', admin.site.urls),
    path('api/', include('todos.urls')),
]
Then followed by app-level urls.py file.
$ touch todos/urls.pyUpdate the urls.py
# todos/urls.py
from django.urls import path

from . import views

urlpatterns = [
    path('', views.ListTodo.as_view()),
    path('<int:pk>/', views.DetailTodo.as_view()),
]
Serializers
So far, we have a project and app, database model, and url scheme. We want the URL endpoints to return data in JSON format, which requires a serializers.
I am pretty new to APIs, I found that this part was quite confusing the first time I did the tutorial.
In short, Serializer translates our data into a JSON format, that can efficiently be passed around the internet and then used by other parties, such as front end.
Lets make our first serializer, create a new serializers.py file in our todos app.
$ touch todos/serializers.pyThen update it with the following code.
# todos/serializers.py
from rest_framework import serializers
from .models import Todo

class TodoSerializer(serializers.ModelSerializer):
    class Meta:
        fields = (
            'id',
            'title',
            'description',
        )
        model = Todo
Views
In Django, views are optimised by selecting what data to send to the templates.
# todos/views.py

from rest_framework import generics

from .models import Todo
from .serializers import TodoSerializer

class ListTodo(generics.ListCreateAPIView):
queryset = Todo.objects.all()
serializer_class = TodoSerializer

class DetailTodo(generics.RetrieveUpdateDestroyAPIView):
queryset = Todo.objects.all()
serializer_class = TodoSerializer
Here it is. The API is ready to be passed around front end.
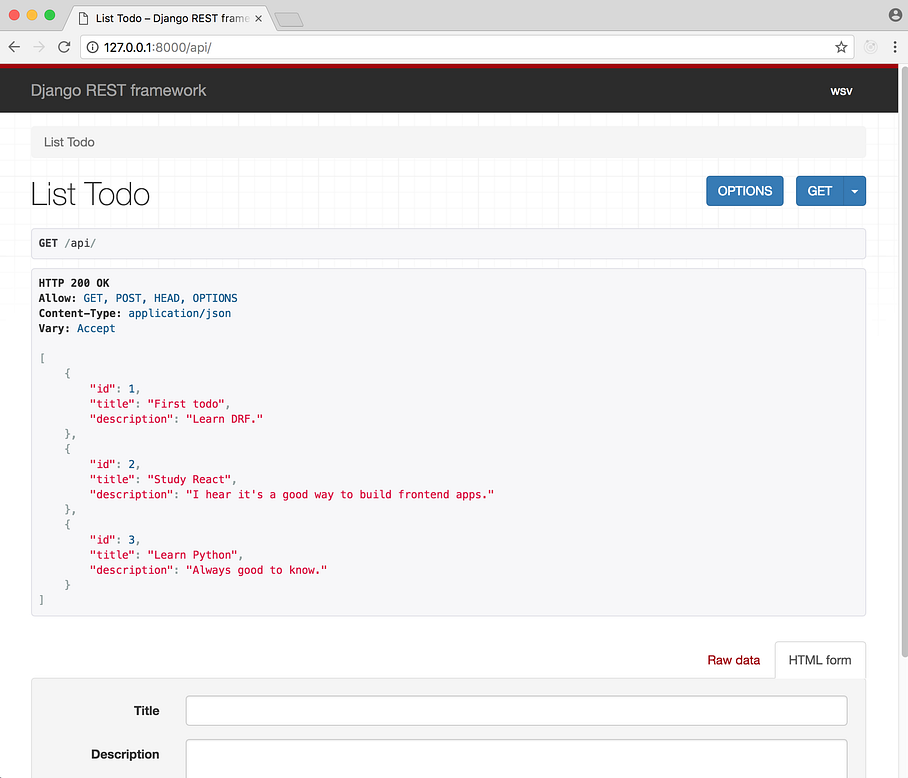
Browsable API
$ python manage.py runserverAccess this address: http://127.0.0.1:8000/api/

CROSS-ORIGIN RESOURCE SHARING (CORS)
Last step is configuring CORS.
CORS requires the server to include specific HTTP headers that allow the browser to determine if and when cross-domain requests should be allowed.
The first step would be quit the server, and install cors-header.
$ pipenv install django-cors-headersThen update the settings.py
Add corsheaders to the INSTALLED_APPS
# todo_api/settings.py
INSTALLED_APPS = [
    'django.contrib.admin',
    'django.contrib.auth',
    'django.contrib.contenttypes',
    'django.contrib.sessions',
    'django.contrib.messages',
    'django.contrib.staticfiles',

    'rest_framework',
    'corsheaders', # new

    'todos',
]
Add two new middleware
# the first twos middleware are the new additional. Order matters
MIDDLEWARE = [
    'corsheaders.middleware.CorsMiddleware', # new
    'django.middleware.common.CommonMiddleware', # new
    'django.middleware.security.SecurityMiddleware',
    'django.contrib.sessions.middleware.SessionMiddleware',
    'django.middleware.common.CommonMiddleware',
    'django.middleware.csrf.CsrfViewMiddleware',
    'django.contrib.auth.middleware.AuthenticationMiddleware',
    'django.contrib.messages.middleware.MessageMiddleware',
    'django.middleware.clickjacking.XFrameOptionsMiddleware',
]
Create CORS_ORIGIN_WHITELIST
CORS_ORIGIN_WHITELIST = (
    'localhost:3000/'
)
Now we re-run the server
$ python manage.py runserverSetting up the React environment
Now, we come to the most interesting part. Fetching the data from API to the Front end.
As we use React, I was so tempted to make the UI looks good for this tutorial purpose. However, as the tutorial focusing on the integration, I would do styling purpose at the very end (not in this tutorial scope). Lets start with create-react app
npm install -g create-react-appMake sure about the file structure of the front end app
$ cd Project
$ create-react-app frontend
$ cd frontend
$ npm start
You may face an issue when run the npm start command, normally, you will be required to add .env file inside frontend file, inside .env file, just write single line of
SKIP_PREFLIGHT_CHECK=trueAfter you run npm start, this web page will show up at localhost:3000
// App.js
import React, { Component } from "react";

class App extends Component {
  state = {
    todos: [],
  };

  async componentDidMount() {
    try {
      const res = await fetch("http://127.0.0.1:8000/api/"); // fetching the data from api, before the page loaded
      const todos = await res.json();
      this.setState({
        todos,
      });
    } catch (e) {
      console.log(e);
    }
  }

  render() {
    return (
      <div>
        {this.state.todos.map((item) => (
          <div key={item.id}>
            <h1>{item.title}</h1>
            <span>{item.description}</span>
          </div>
        ))}
      </div>
    );
  }
}

export default App;
And…. finally, your webpage would look like this:
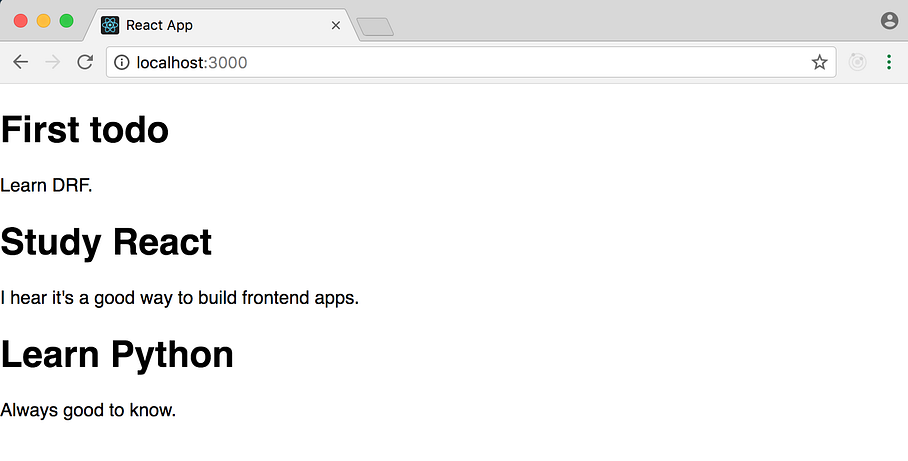
I'm not touching the css as it is outisde of the scope of the tutorial. You can beautify this according to you. This is more concentrated on connecting the pieces.
Why Internship at a young Startup is a good idea?
Working in a young startup is always a challenge. The team size is generally small, which means more responsibility and more learning opportunities. The feeling of writing code that will be used in production and could potentially be used by millions of people is overwhelming.
Initially, there was a lot on my plate, and I started to burn out, but once I got comfortable with the code and the work culture of a startup, the rest was a cakewalk.
The workflow is extremely productive and you’re expected to develop fast, fail, learn from mistakes, and iterate. Working in a fast-paced environment, with talented senior developers helped me learn and lot and made me a better developer. It also helped me think from a scalability and maintainability perspective. I had the chance to work in new technologies that helped me pick up in-demand skills.
That’s it for today. See you soon.
References
https://reactjs.org/docs/getting-started.html https://www.djangoproject.com/start/